
Follow along with The Crafty Elf Workshop to learn the basics of making a bow.
This is just the beginning. In the weeks and months to follow I will show you many different bows that you will be able to make to take your gift wrapping to the next level. Do not get discouraged!!! The first time I was shown how to make this bow, it wasn't pretty. But after a few times following the basic steps, I did it! Now, all my gifts have hand made bows and yours will too. I will show you how to adjust the size of the bow for the size of the gift. You will take your gift wrapping to a whole new level. I will show you how to be proud of your wrapped gift. With all the money and time spent on choosing the perfect gift, wrap it like you mean it. When you watch the video notice my hands and wrists. The movement is important to the tying of the bow. Grab your ribbons and let's get started. |
| This is the bow you will learn to make |

http://www.youtube.com/watch?v=tCAcdfTQ8LU&feature=feedlik
Curly Ribbon Bow
 Follow the step by step instructions to make this curly ribbon bow. This bow is an inexpensive bow, very easy to make and is great for adding to anything to give it a little something extra.
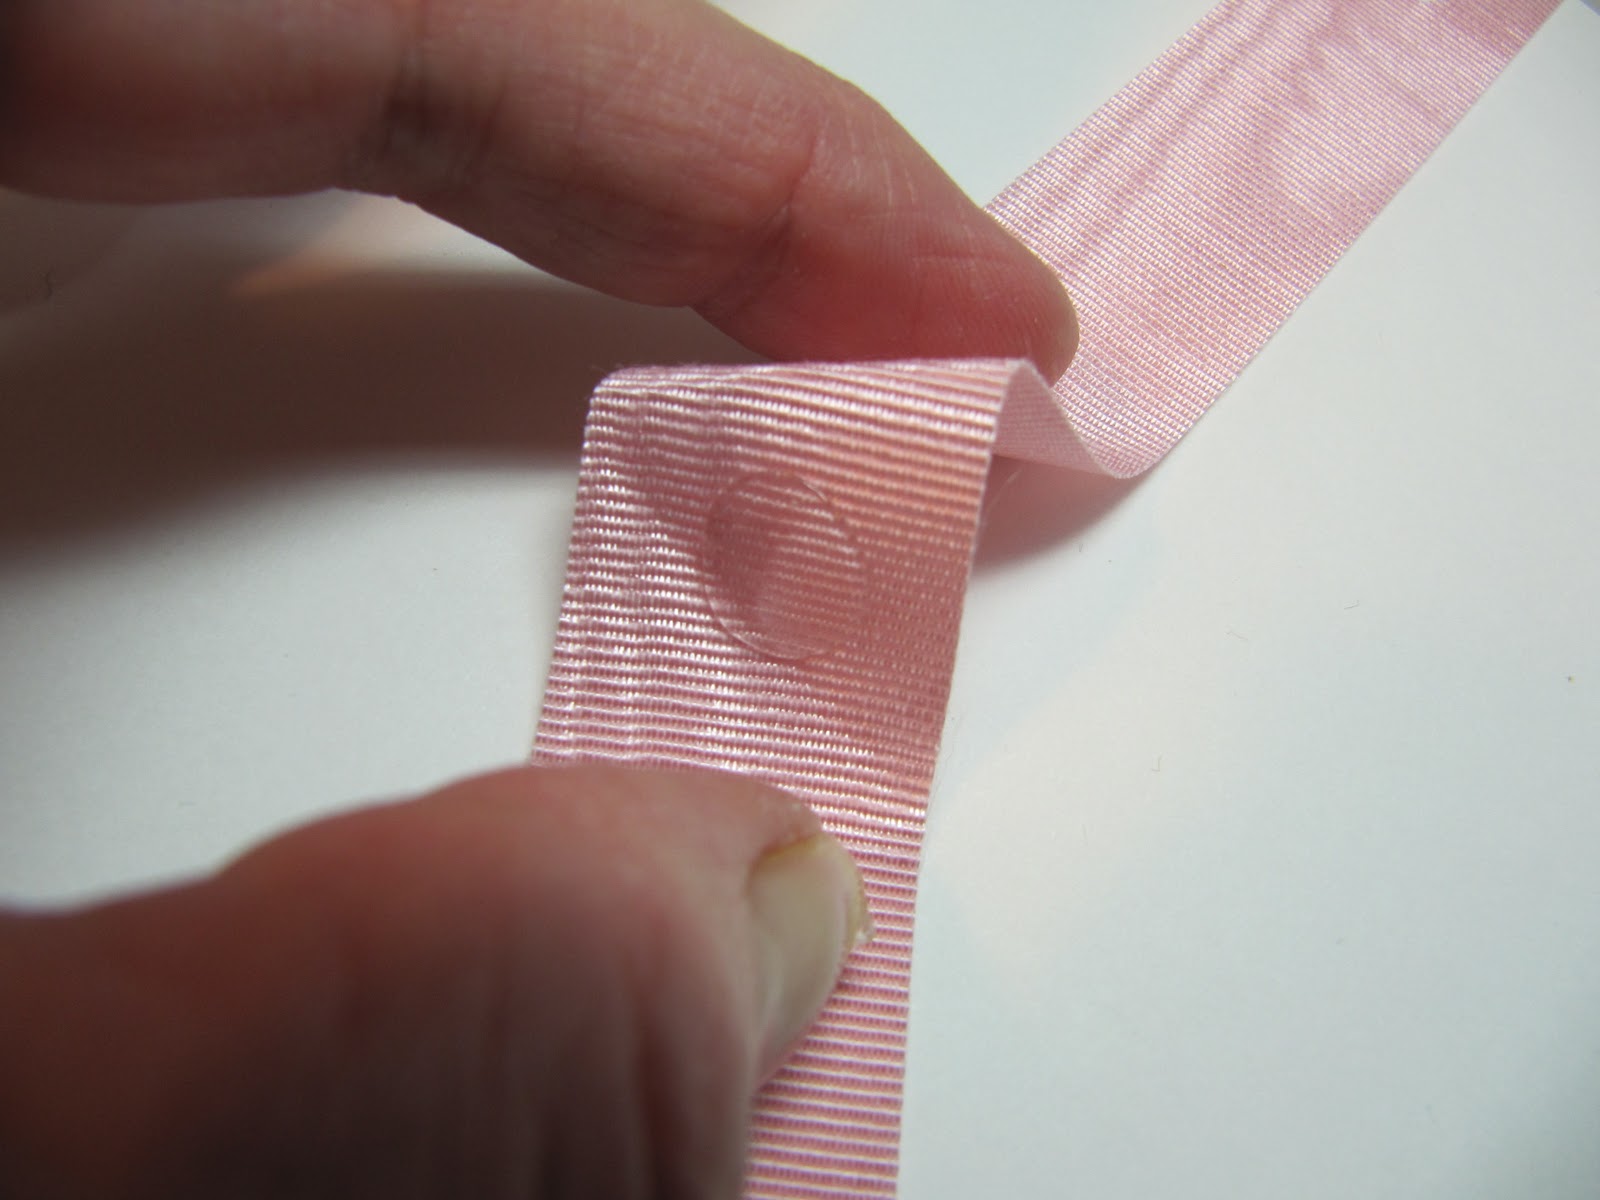
I like to keep the ribbon on the spool but loosening off a few yards first and running my fingers along the ribbon helps to eliminate the curl. It just makes it easier to work with. Start with about 5 inches of the ribbon as shown then make your first loop.


Make your second loop as shown and make sure to keep the loops the same size on either side. Continue to make loops so that there are between 15 to 20 loops on each side.
*Important* Make sure you have the same number of loops on each side.

should look like this. Hold the ribbon firmly as shown and now you are ready to secure.

place them over the bow as shown below.


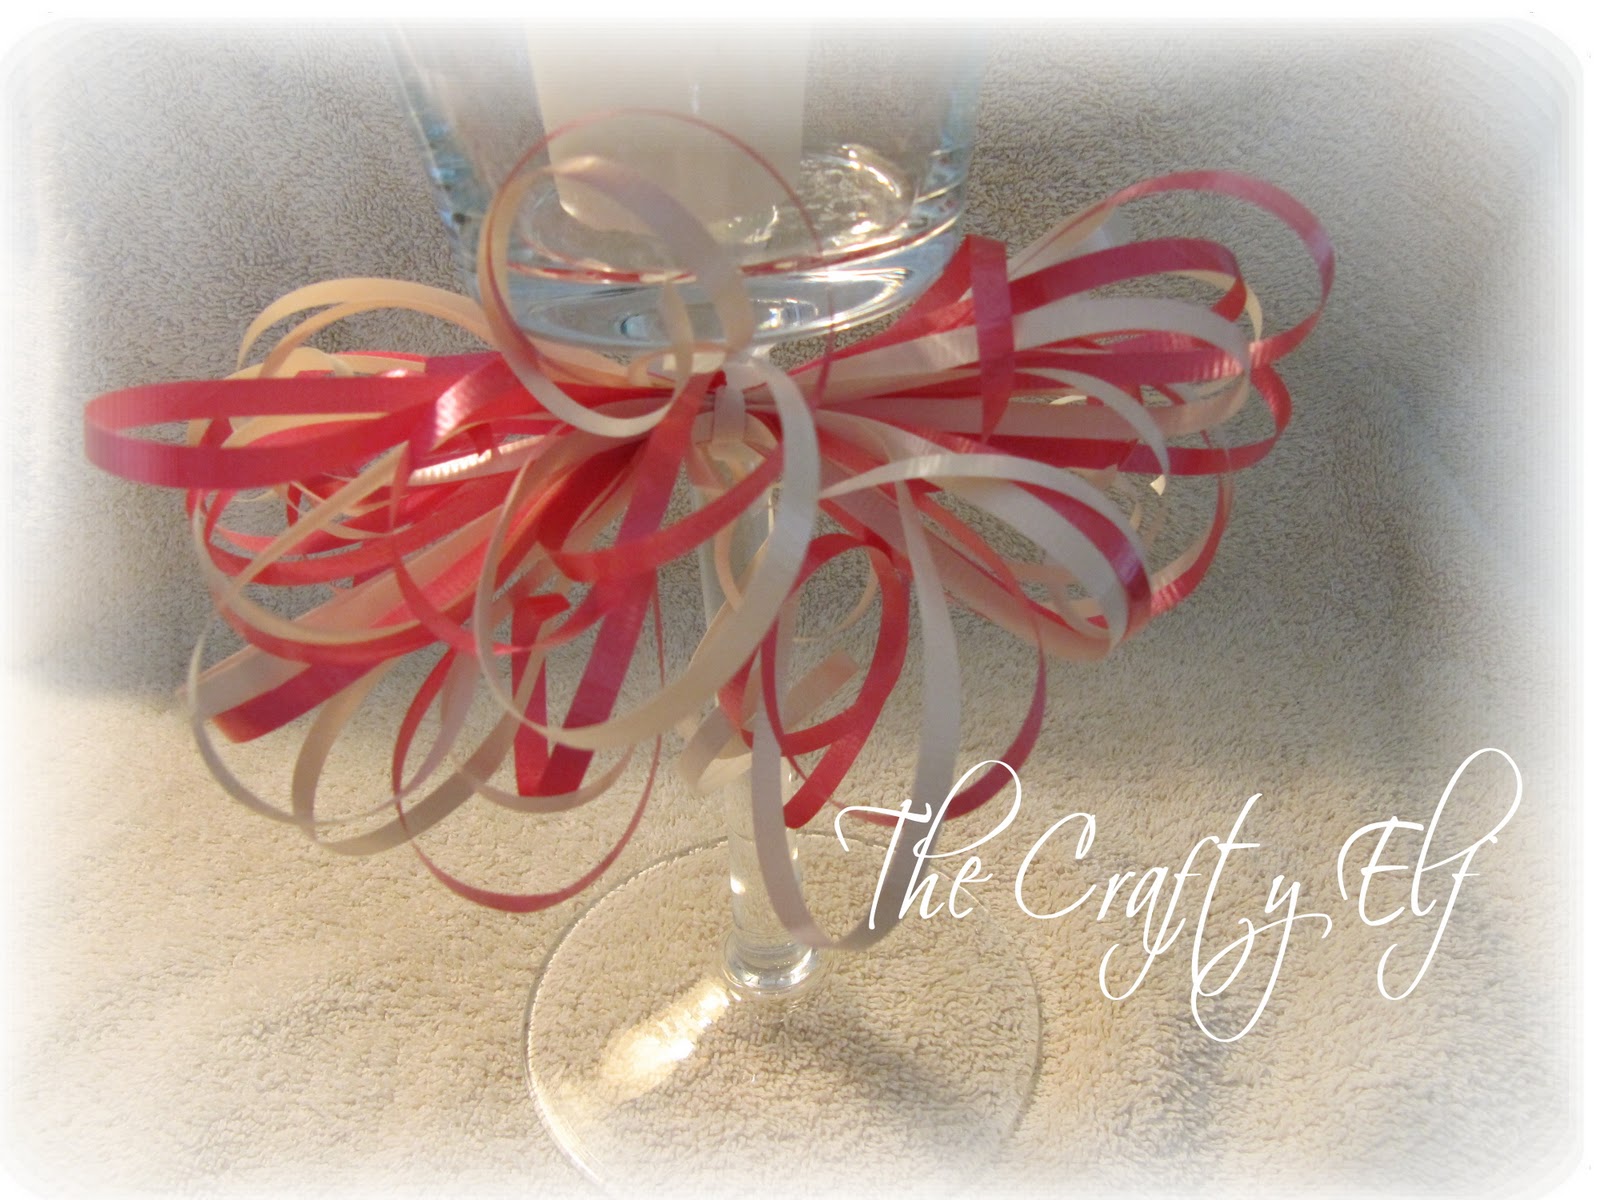
Here is the finished look. This bow is great if you are looking for a lighter weight bow or wish to add
just a little something to a gift or container. Have fun with the bow it's great on just about anything.
Thank you for looking!
Ribbon Bow
Follow the step by step instructions below to learn how to make a ribbon bow. This is a very classy bow and may be used on numerous items to add that extra touch.
 |
 |
Begin by cutting two pieces of ribbon. One 9 inches and
one 2 1/2 inches ( I have used 1 inch wide ribbon to make
this bow)
|
 |
Turn ribbon over to the wrong side and place glue dots
at each end of both pieces of ribbon as shown above.
|
 |
Your ribbons should now look like this
|
 |
Fold one end over so the folded piece measures 2 3/4 inches.
*Important* Line up sides of ribbon so they are exact.
Press to secure
|
 |
Fold the other side over to 3/4 of an inch from the end.
*Important* Line up sides of ribbon so they are exact.
Press down to secure.
Your ribbon bow should now look like this and the right side
of the ribbon is facing out.
|
 |
Turn ribbon bow over so you are now looking at the top of
the bow.
|
 |
Gently press down at centre of ribbon bow. This is your
guide.
|
 |
Now that the centre is marked, have small piece of ribbon
ready.
|
 |
Pick up ribbon bow at centre and hold between thumb and
first finger. *Important* Bottom of bow should be facing up.
You will know it's the bottom of the ribbon bow if you see the end
of the ribbon, only one side has the end showing on the outside.
|
 |
Place small piece of ribbon with glue dot on the ribbon bow
as shown above making sure it is placed at centre.
|
 |
Your ribbon bow should now look like this.
|
 |
| Holding ribbon bow - turn ribbon bow over |
 |
You should now have the right side of the ribbon bow
facing up and you should see the small piece of
ribbon with the glue dot.
|
 |
This is what you should see if you are holding
the ribbon bow in the right hand.
|
 |
Fold the remaining piece of ribbon over. *Important* Make
sure the sides of the ribbon are lined up exactly. Also, when
wrapping the last piece over it should be snug but not
tight. You don't want the ribbon bow to bend.
Press to secure.
|
 |
This is what it should look like. Both ends of the ribbons
are now on the bottom. This is exactly what you want.
Turn over!
|
 |
| Congratulations you have now made a ribbon bow. |
******************************
This is a very versatile votive candle that may be used to add a beautiful touch to your table. Whether it's for a Bridal shower, Christening, Wine and Cheese party or any gathering, these votives will definitely set the mood.
Follow along with the step by step instructions and you will be setting your table in style!

 |
Cut 3 pieces of ribbon 9" long
|
 |
Fold each ribbon so that the inside of the one
end and the outside of the other end are together and even at the bottom |
 |
Staple as above
|
 |
The three pieces should look like this. Notice the last
ribbon has the right side over the left. Fold all ribbons the same
to keep the look of the loops consistent
|
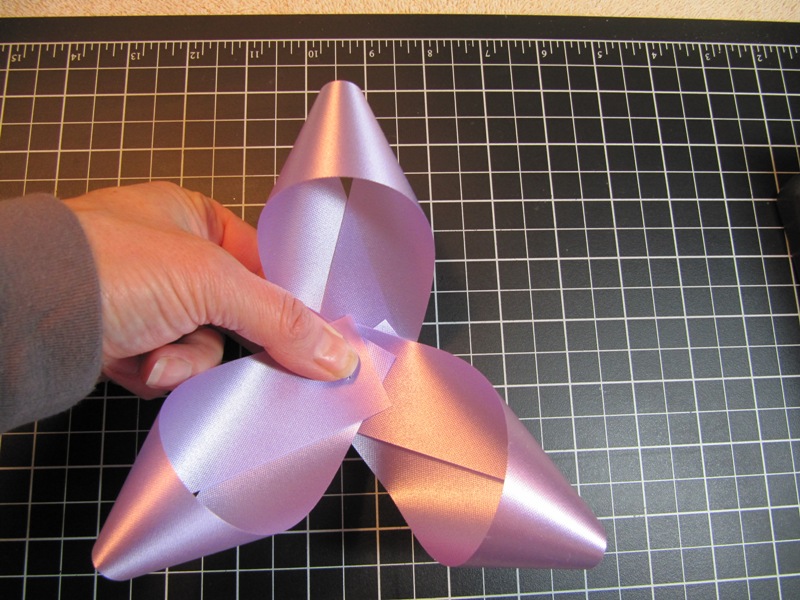 |
Place ends of all three loops together and form a triangle.
Make sureall loops are facing up - staple in middle at thumb.
|
 |
Flip over and bottom should look like this
|
 |
For this votive I used 11 1/2 feet of ribbon.
This may vary depending
on the size of the votive used. Keep ribbon on
spool while making the loops to ensure correct length needed.
|
 |
| Start with approximately 5" as shown and then make your first loop as follows |
 |
Continue to make loops back and forth as shown
in the next two pictures.
|
 |
This is what it should start to look like.
|
 |
There should be 8 loops on each side (of your thumb)
when done. Finish off with another 5 " piece of ribbon.
It will be facing the opposite direction as the first 5" piece
of ribbon you started with.
|
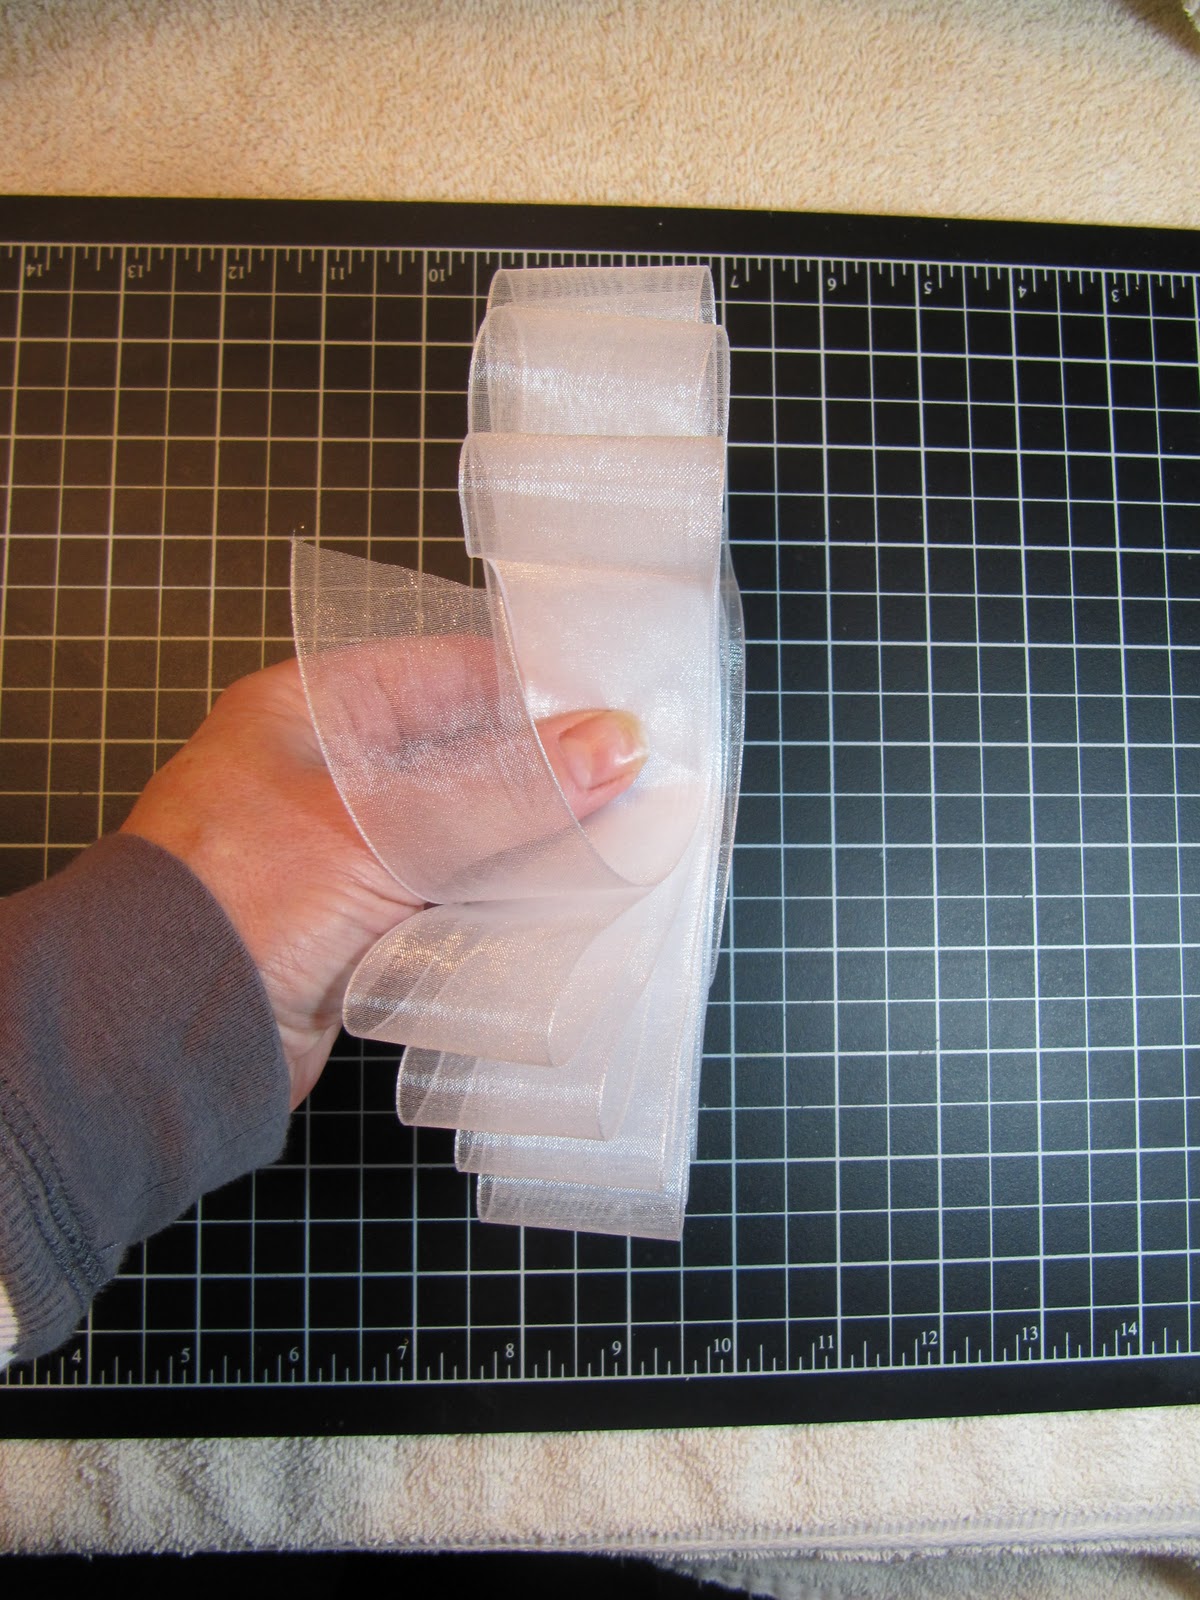 |
Once all the loops are completed your ribbon
should look like this. For the next step hold the
ribbon as shown in the picture.
|
 |
| This is what it should look like from the side |
 |
Take a piercing tool and poke through all layers of ribbon
to make hole for the brad. A flat brad as shown below is best
to ensure that the votive sits flat
|
 |
This is the style of brad I used. Note - the top
of the brad is flat.
|
 |
Place brad through hole made by piercing tool
|
 |
Turn ribbon over and secure brad by spreading prongs
|
 |
Brad is now secure
|
 |
In this picture you will notice I have slowly started
to fan the loops out. To fan, use both hands and fan out
loops at brad
|
 |
Continue to fan
|
 |
| You will see the loops starting to form the desired look |
 |
The entire loop will fan easily if you fan close to brad
|
 |
Desired look achieved
|
 |
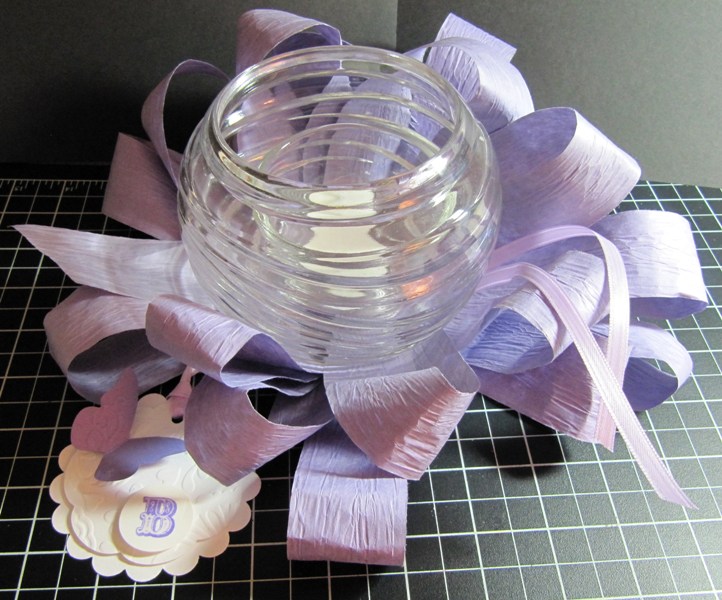
Votive fits nicely and looks great. Place your votive on the ribbon.
If you are happy with the look, then continue. If not, continue to
move loops around until you are satisfied. If necessary, you may
need to fold all loops back together and begin again.
|
 |
Place stapled ribbons face down on flat surface
|
 |
Place ribbon flower on top of stapled ribbon loops
|
 |
Place desire votive holder on top
|
 |
| There you have it. Should you wish to add tag, follow below. |
 |
Remove votive from ribbon flower.
|
 |
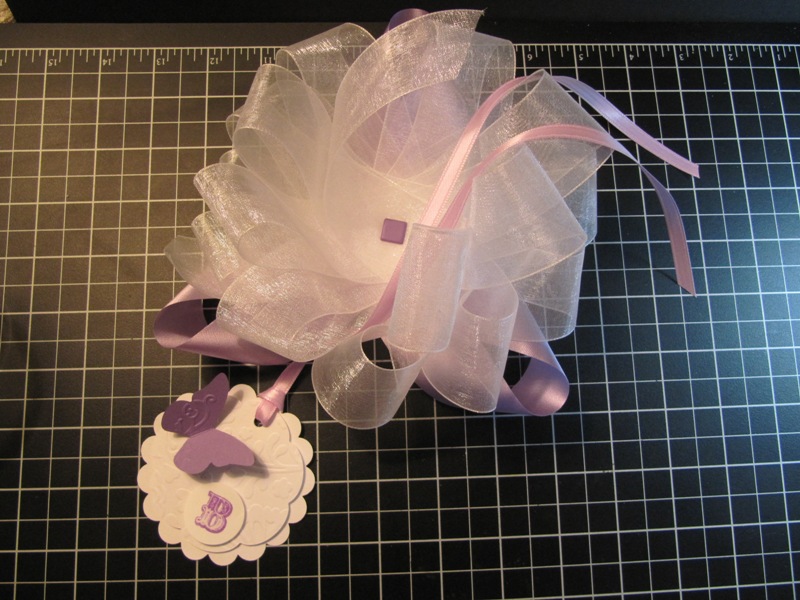
Carefully place ribbon of tag down between loops as
shown
|
 |
Begin by laying ribbon over top of ribbon flower
as above across middle of flower
laying ends of ribbon over top
of loops on opposite side
|
 |
Place votive on top of the tag ribbon in centre of
ribbon flower
|
 |
Your finished Versatile Votive
|
 |
There are many different options for this Versatile Votive
|
 |
I removed the bottom 3 looped ribbon and added
a gingham ribbon flower under votive. A new
look
|
 |
Change the look by changing the ribbons
|
 |
Remove the tag and you have another look
|
 |
Cut 6" loops of any desired ribbon and
staple ends together
|
 |
I used 5 in the next picture

I carefully placed each stapled loop into ribbon flower making
sure they were secure and wouldn't come out. Place stapled ends
deep into ribbon flower.
|
 |
I removed all additional ribbons and used only the original
ribbon flower and replaced the first votive with a square votive
holder. Now we have another look to our Versatile Votive
|
 |
I think this is stunning!
|
 |
In this picture I used a large votive approximately 5"
and used paper ribbon for the flower. Again, we
have a new look.
|
 |
This really makes a statement being larger
|
 |
This bow has larger loops then the original ribbon flower
and this is where you will have to adjust the length of
the ribbon to fit the size of the votive used. Limitless!
|
 | ||
Here are the three votives used but as you can
see the different looks just by changing up the
different elements used. Now it's your
turn to make a statement on your tables.
Thank you for visiting my "How To" page.
__________________________________________________________ I want to show you a fantastic bow that you can make your own. Follow along with the step by step instructions and change the bow to suit your needs.
 Press the top middle of the ribbon down as shown above and set aside.  Take the 11 inch piece of ribbon and flip over so wrong side is facing up. Once again add glue dots to both ends.  Match up glue dots and make sure that the right side of the ribbon is facing out. Make sure sides are perfectly lined up.  You will now see the glue dot on the inside of the ribbon.  Once again, press down at the middle of the ribbon as shown making sure to line up edges perfectly. 
Collect all pieces of bow as shown above. Place glue
dots in the centre of each of the two larger bow
pieces as shown.

Place the smaller double looped bow piece
on top of the larger double bow piece as
shown above. Making sure to line up edges
perfectly.

Add the single loop on top of the other
two bow pieces as shown making sure
of two things. One, the edges are
perfectly lined up and two, the
the inside edge of the single loop
is at the inside top so you don't
see it.

So now this is what you have remaining.
Looking good so far isn't it?

Take one end of the remaining 9 inch piece
of ribbon and cut a "V" into the end as
shown.

This is what it should look like.
Do the exact same to the other end.

So here is what you should have now. Place a glue dot
on the middle of the 9 inch piece of ribbon and secure
bow.

Here is your finished bow. Isn't it just beautiful?
I'd also like to show you some other things
that you can do with that remaining piece of
9 inch ribbon (we added last) to give your
bow another look. Use whichever bow suits
your needs. There is so many
different ways to change it up so let's have
a look.
         Now, isn't this bow adorable too? Wait.....there's more! Take the very first bow with ribbon that was shown. See first picture below. 
Begin to move the right tab around to the left as
shown making sure the right side of the ribbon is
facing up
  
When you get to here you will need to add a glue
dot as shown in this picture. It is beside
my thumb nail on the ribbon

Press down firmly to secure and press
the ribbon on both sides to
flatten as shown below
  Press down on the inside of the centre loop as shown as well to make sure the bow is as flat as possible. The tab on the left (I just showed you how to move the right tab to the left) can be moved over to the right side so either way is possible. Which ever look you going for. 
So again....here are three possibilities with one bow.
Change up the bottom ribbon and you have a different
looking bow every time.
Thank you for looking!
|


