Showing posts with label Christmas Urn. Show all posts

Monday, November 21, 2011

Christmas Urns....

.....always a lovely addition to the front of any home. 

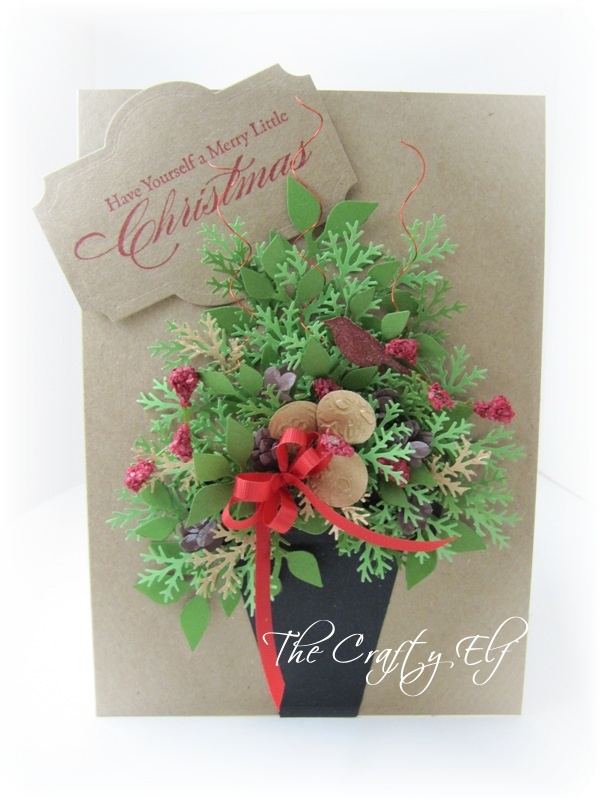
Christmas urns or pots come in all sizes, shapes and materials but you don't have to spend a lot of money to have one.  If you want to create your own this year, visit your local garden store and have a look at the different styles available.  I would even be inclined to take a picture with your phone or take a flyer from the store if one is available.  Often the store flyer will have pictures you can use as a guide.  Some garden stores even offer classes at a lesser price than the price of the finished product, worth checking out.  Another good place to look for inspiration is on the Internet.

Choose a style you like and purchase the greens required to create the same look.  The cost of the urns or pots increase with the amount of items in them and this is where you can save money.  The dollar stores provide a large selection of sparkly sticks and ornaments that may be added to achieve that garden store look. 

Here is an urn with three different greens and a few red branches. 


A red glitter poinsettia with clip was purchased from the dollar store and 
a six looped bow was made and added


A box of red glass balls also from the dollar store are wired in groups of three and added for variety and interest. 


There are so many possibilities so let your imagination and creativity begin.
The cost is really dependent on the size and look
 your going for.  I little bit of homework will go a long way here! 


Wherever you are in your day, I hope your enjoying it!
Wishing you many wonderful creations!


Photobucket


Wednesday, September 21, 2011

A Christmas Urn

.....another idea from head to paper.

It's Wednesday again and you'll have to read my entire post before you get to see my desk today.  When I looked at the picture....it really scared me so you'll have to wait till the end to see it!

If you've been following my blog lately I've been on this creative Christmas streak.  So far I've made a Christmas tree branch with ornaments, a Christmas wreath and just the other day I made a Christmas tree all out of cardstock.  This is where I feel right at home, it's my thing I guess you could say.  I have as much fun making these cards as I do when it's Christmas time and get to create the real thing.  I'm in my Happy Place while doing this.

As promised, I said I had some ideas in my head and as soon as they got to paper I would share them.


I began with a large black planter.  My take (first attempt - prototype so to speak) on one of the planters you see at the green houses filled with all that gorgeous greenery.  Pssst.....I have some great ideas if any one of the companies who make punches want to talk to me.  Wouldn't it be great to have all the Christmas greenery branches available in punches?  Anyone know anybody who does this, tell em to give me a call.  I've got so wonderful suggestions!  Well, you just never know right?  Can't blame a girl for trying now, can you?

So, here is my finished card.  I would of loved to have had a few more punches available in some of the different greenery's available at the greenhouses but I used what I had and I think it turned out quite nicely.
I used the Sizzix branch with leaves die and the Martha Stewart pine branch punch.  These two punches created the entire greenery.


This is a close up of a pine cone I made from a flower punch.  I cut the petals apart from the flower and layered them while gluing the ends together.  It photographed a bit purple but it's actually brown chocolate chip cardstock.


I added three gold balls as ornaments to the urn and made a lovely bow to decorate.  I cut a few stems of tiny red flowers from a flower sprig I had and added three branches each with three little stems and flowers.


Couldn't resist adding a bird.  I have a sentiment stamp that had a tiny bird on it so I stamped the image onto Kraft cardstock in Cherry Cobbler ink and when it dried, I cut out the bird.  I then coloured the bird with an atyou Spica marker (from the makers of Copic) in #3 Red.  Love the way these markers add glitter!


We've all seen these colourful sticks and some of us have used them!  I wanted a little extra something to embellish the planter.  These curly sticks are usually available at all stores selling Christmas greens or tree decorations.  They come in a variety of colours, glitter or no glitter, thin or wider branches.  To create these curly sticks I used red wire.  I wrapped the wire around and around  the end of my piercing tool.  I slid the wire off and stretched it to create the look I wanted.  I then used wire cutters to trim the wire to the length I needed.  Dipped the end of the wire in glue and placed it on my card to create the look I was going for.  So easy.

That's my card and if you would like to see the Christmas tree branch, Christmas wreath with tutorial ormy Christmas tree, check out the posts below.  

I guess it's time to show you my desk.  If you want to see what other's are creating on their work desks this week you must visit here.  This wonderful lady named Julia works very hard each week to gather people from around the world to share what they've created.  This really is worth the visit and you'll be quite impressed with the talent.  You might even find yourself joining in this wonderful journey.


So this is what my desk looked like and I have to say......I'm kind of ashamed.  See the Ewwww?  I had a pin stuck in the tip of my bottle of glue so I didn't have to keep screwing and unscrewing the lid while working.  The pin (cheap metal I guess) turned a glob of glue this awful colour of brown.  The yellow arrow shows my pine cone progress.  There is the little spool of red wire there and the piercing tool I used to wrap the wire around and around on.  Oh, and there is the little plastic branches of red flowers I used.  A piece of red ribbon, my wire cutters,  ATG gun and the rest of my creative mess.  Must go! I'm off now to visit my blog friends around the world.  Thank you so much for stopping by today and visiting,

Wherever you are in your day, I hope you're enjoying it!
Wishing you many wonderful creations


Photobucket